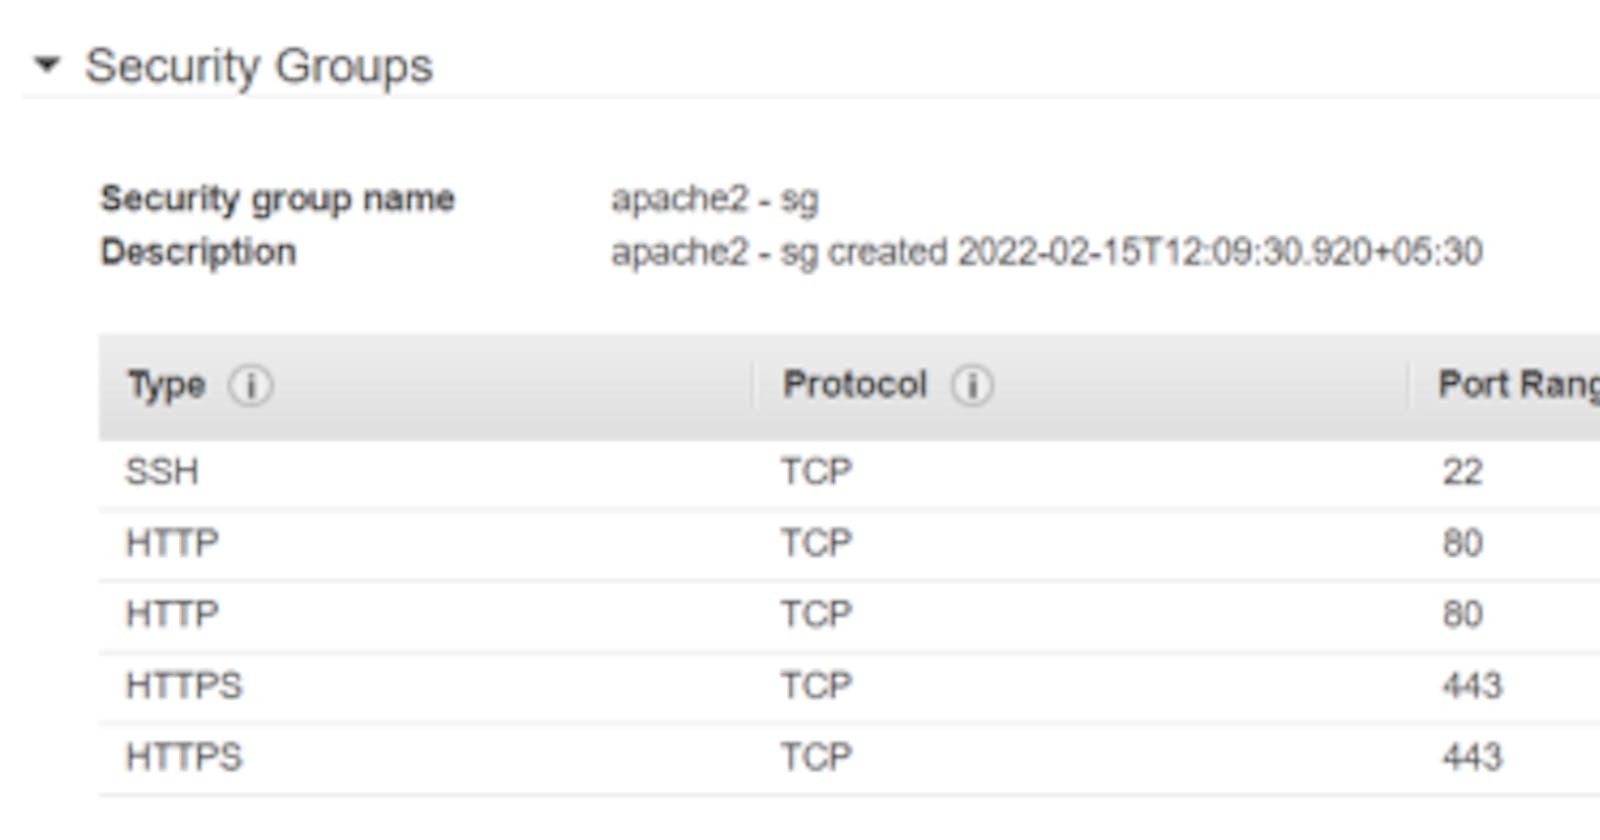


First, we want to create an ubuntu 16.04 EC2 instance by adding the following Security Group Inbound Rules.
Security Group Rules
Next, Connect the EC2 instance using pem file.
After, Run the following command to update the system.
sudo apt-get update
sudo apt-get upgrade
After that install the LAMP stack using the following command. During the installation process, you want to give MySQL database password.
sudo apt-get install lamp-server^
Run the following command for apache utilities install.
sudo apt-get install apache2-utils
phpMyAdmin enable you can run the following command. During the installation process select apache2 and press enter. After that configure screen select, yes and after that typed password for phpMyAdmin.
sudo apt-get install phpmyadmin
After that run the following command.
sudo ln -s /etc/phpmyadmin/apache.conf /etc/apache2/conf-enabled/phpmyadmin.conf
After that restart apache using the following command. you can see the following output.
sudo /etc/init.d/apache2 reload

Restart apache2
After that paste your EC2 public IP inside the Web browser after you can see the default apache page.
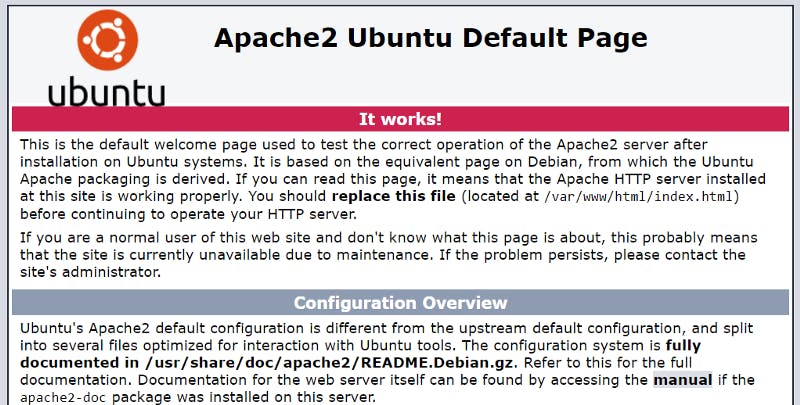
Default apache2 page
After that go to this website and create a free domain using EC2 public IP.

duckdns home page
After that edit the hosts’ file and add public IP & domain name.
vim /etc/hosts
Ex-your public IP & domain name
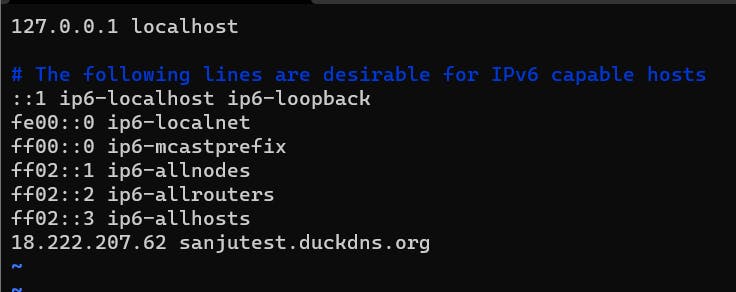
add public IP and hostname
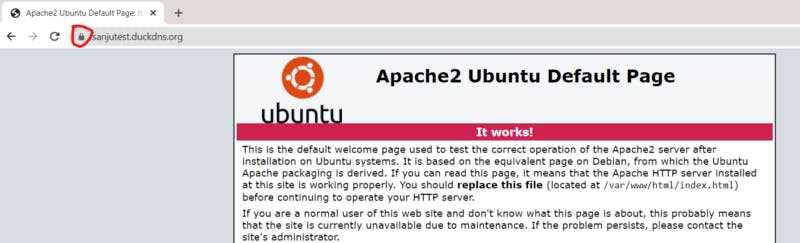
Next, paste the domain inside the web browser you can see your apache2 default page.
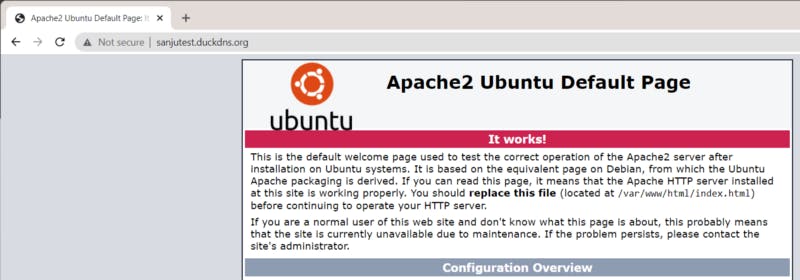
paste domain
After that change zone and region using the following command,
sudo dpkg-reconfigure tzdata
Next letsencrypt client installs using the following command.
sudo apt-get install python-letsencrypt-apache
Certificate generate using the following command. during the installation process, they asked for your email after that choose option for HTTP redirect to HTTPS.
letsencrypt --apache -d sanjutest.duckdns.org
Now your website is SSL is enabled. you can check it using the domain name.
SSL certificate added
You can check your SSL certificate status using the following website.
SSL Server Test
This free online service performs a deep analysis of the configuration of any SSL web server on the public Internet…ssllabs.com
Now we going to follow the path and create a .htaccess file and add the following content.
Options +FollowSymLinks
RewriteEngine on
RewriteCond %{HTTP_HOST} ^www.sanjutest.duckdns.org\.com$
RewriteRule ^/?$ "https\:\/\/sanjutest.duckdns.org\.com\/" [R=301,L]
RewriteCond %{HTTP_HOST} ^3\.21\.122\.197
RewriteRule (.*) https://sanjutest.duckdns.org.com/$1 [R=301,L]
RewriteCond %{HTTP_USER_AGENT} libwww-perl.*
RewriteRule .* ? [F,L]
Edit apache2.conf using the below path.
vim /etc/apache2/apache2.conf
This file change allow override none to All.
Next, run the apache2 restart command.
service apache2 restart
Now your apache server up and running.
You can schedule a cronjob for automatically renewal certificate. Using the following command.
crontab -e
after adding the below content to the last line.
30 3 * * 1 /usr/bin/letsencrypt renew >> /var/log/le-renew.log
Thank You!!!