

ASP.NET Core is a free and open-source web framework and successor to ASP.NET, developed by Microsoft. It is a modular framework that runs on both the full .NET Framework, on Windows, and the cross-platform.
Read More: https://docs.microsoft.com/en-us/aspnet/core/getting-started/?view=aspnetcore-6.0&tabs=windows
Docker is a set of the platform as a service products that use OS-level virtualization to deliver software in packages called containers. Containers are isolated from one another and bundle their own software, libraries and configuration files; they can communicate with each other through well-defined channels.
Read More: https://docs.docker.com/get-started/
Prerequisites
Docker Desktop Install: https://www.docker.com/products/docker-desktop
.Net SDK Install: https://dotnet.microsoft.com/download
Azure Free Tier Account: https://azure.microsoft.com/en-us/free/
Azure CLI Install: https://docs.microsoft.com/en-us/cli/azure/install-azure-cli
After that, We can check whether the .Net version uses the following command.

Next, We can create a sample ASP.Net Core WebAPI using the following command.
dotnet new webapi -o aspnetcoreapp --no-https
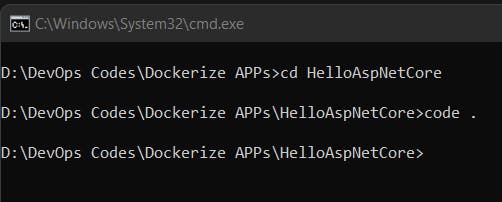
Next, Go to the newly created folder and open this folder via VS Code. We can use code . command.
After that Build & Run this project locally using dotnet watch run command.

After that, you can access this application using the following URL. http://localhost:5000/weatherforecast . If you can check this API using Postman.

Now we can Dockerize this ASP.Net Core API using Docker. In VS Code go to the view tab and Click the command palette and type Add Docker Files to Workspace command. This setup asked to choose language and port number. After that, we can see the newly created docker file for ASP.Net Core WebAPI.

Next, we can create docker image using Dockerfile. We can use the following command.
docker build -t hello-aspnetcore:v1 .
After that, we can see the newly created Docker image using the docker images command.

Next, we can create a docker container using the docker run command. -rm says that remove container after the run.
docker run -it -rm -p 8080:80 hello-aspnetcore:v1
Finally, we can see our container is running in a local machine inside docker. Previously local running we use 5000 port but now we can access this container using http://localhost:8080/weatherforecast URL.

Congratulations!!! Successfully dockerized ASP.Net Core WebAPI.
Now we going to deploy this container to Azure Container Instances.
Go to the Azure portal and search Container registries and create a new container using the following details. You can use your previous resource Group or you can create a new one.
*Please consider using a unique name for the container name.

After that click Review and create. After review ok you can create the container.
Next, go to the command prompt in the local machine and log in for the azure using az login command.
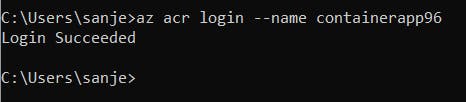
After that, log in for the container app using the command prompt. You can copy Login Server details in Azure Dashboard and you can use the following command. Finally, you can see Login Succeeded Message.
Next, Tag the docker image using the following command.
docker tag hello-aspnetcore:v1 containerapp96.azurecr.io/app
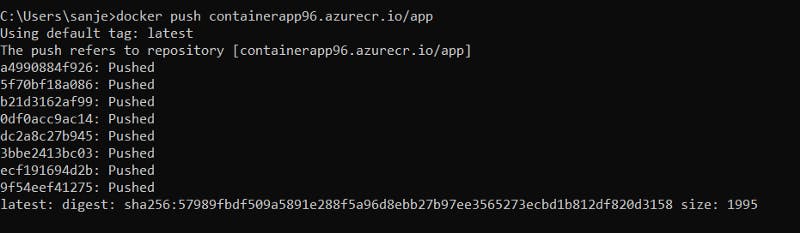
After that, push the Docker image for the Azure container registry using the following command.
docker push containerapp96.azurecr.io/app
Next, Go to the Azure portal and you can see the Docker image in the Repository section.
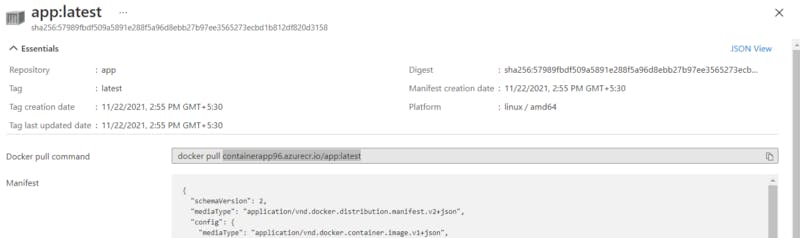
After that copy the docker image name for future use.
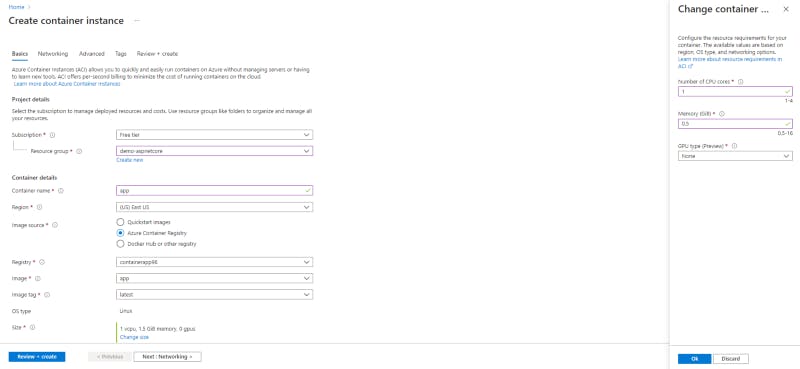
Next, Go to Container instances and create instances. We can use the Same Resource Group.
You can get errors for selecting Registry. You can fix it run the following command.
az acr update -n containerapp96.azurecr.io --admin-enabled true
After that refresh page and create again create docker instance.
You can change the size of the machine like the below image.
Finally, go-to resource and copy the public IP address and paste its web browser. You want to include the previous path or you can use Postman.

Copy Public IP address
http://PublicIP/weatherforecast
You can see the API response.

Thank You!!!
References: https://gitlab.com/lasantha96/asp-netcore-api-dockerize